Errors and Solutions in Crooked Arms Private Cheats
This error means that not all software instruction requirements have been met! Namely, defenders and antiviruses are not disabled (see list below).
MUST DISABLE or REMOVE
1. Disable antivirus (Remove!!!)
Disabling will most likely not help, as antiviruses often run in the background. You must completely remove the antivirus.
⚠️ After removing the antivirus, restart your PC.
2. Disable SmartScreen
Disable "Reputation-based protection" (SmartScreen) in Windows settings.
3. Disable Windows Defender
In Windows search, type "Virus & threat protection" and disable Windows Defender.
Additionally
Remove FaceIt and Vanguard
FaceIt is a separate anti-cheat for CS:GO.
Vanguard is an anti-cheat for Valorant.
Anti-cheats of these applications interfere with the normal launch of Crooked Arms.
⚠️ If you had them before, check for all traces that may have remained.
Use VPN
In some cases, using a VPN may help when launching the program.
📎 Links are clickable

This error is resolved by performing all necessary actions that may block the program launch.
MUST DISABLE or REMOVE
1. Disable antivirus (Remove!!!)
Disabling will most likely not help, as antiviruses often run in the background. You must completely remove the antivirus.
⚠️ After removing the antivirus, restart your computer and check for any remaining traces — remove them.
2. Disable SmartScreen
Disable "Reputation-based protection" (SmartScreen) in Windows settings.
3. Disable Windows Defender
In Windows search, type "Virus & threat protection" and disable Windows Defender.
Additionally
Remove FaceIt and Vanguard
FaceIt is a separate anti-cheat for CS:GO.
Vanguard is an anti-cheat for Valorant.
Anti-cheats of these applications interfere with the normal launch of Crooked Arms. Read more about this in the "Failed to launch #1" section.
⚠️ If you had them before, check for all traces that may have remained.
Turn off MSI Afterburner
MSI Afterburner may block the program launch. Completely close the application before launching.
Use VPN
In some cases, using a VPN may help when launching the program.
⚠️ Sometimes software launch can be blocked by Discord overlay, YouTube, streaming programs, or other background applications.
🔌 We recommend temporarily disabling them before launching.
To resolve this error, perform the following steps in order:
1️⃣ Disable Windows Test Mode
Disable test mode (if enabled) and restart your computer.
2️⃣ Enable "Secondary Logon" Service
- Press Win + R
- Enter the command
services.mscand press OK - In the list, find the "Secondary Logon" service
- Right-click on it → Properties
- In the Startup type field, select Automatic
- Click OK and close the window
🧰 ❗ MUST disable or remove
Before launching, make sure all defenders, antiviruses and their remnants are completely disabled or removed.
🛑 Antivirus (better to remove completely)
After removal, restart your PC and make sure no traces remain.
🛡️ SmartScreen — disable
Disable "Reputation-based protection" (SmartScreen) in Windows settings.
🔒 Windows Defender — disable
In Windows search, type "Virus & threat protection" and disable Windows Defender.
🧹 Additionally
❌ Remove FaceIt (CS:GO anti-cheat) and Vanguard (Valorant anti-cheat)
If they were installed earlier — remove all their traces. Read more about this in the "Failed to launch #1" section.
🌐 Use VPN
In some cases, using a VPN may help when launching the program.
🔁 Change DNS if your provider blocks access
If your internet provider blocks access, try changing DNS servers (for example, to Google DNS: 8.8.8.8, 8.8.4.4).
⚠️ Additional Recommendations
Sometimes program launch can be blocked by Discord overlay, YouTube, streaming applications, and other background services.
➜ It is recommended to temporarily disable them before launching.
Literally, the error looks something like this:
Info: error occured while connecting to server QNetworkReply::OperationCanceledError
The program cannot connect to the server.
Perhaps there are some problems on the server. Usually this is a mass phenomenon and in the general chat it immediately becomes clear that there are problems. Also, we write informational messages in such cases in telegram / discord channels.
- Use VPN to launch. If one doesn't work - try using another, connect to other servers.
- Change DNS servers on the computer.
- Restart router, computer.

This error means that you need to enable virtualization (VT-x) on your PC.
How to do it?
There are many descriptions and instructions on the internet on how to do this. We recommend using a search for your specific motherboard or laptop model:
Search for instructions on enabling VT-x in BIOS
How to check if virtualization is enabled?
You can check if virtualization is enabled in Task Manager:
- Open Task Manager (Ctrl + Shift + Esc)
- Go to the "Performance" tab
- At the bottom, the "Virtualization" status will be displayed
Enabling via BIOS
You can enable virtualization in BIOS. VT-x (Intel) or AMD-V (AMD) settings are usually found in sections:
- Advanced → CPU Configuration
- Advanced → Processor Configuration
- Security → Virtualization
- Or similar sections, depending on the manufacturer
Note: Option names may vary depending on the motherboard manufacturer. Look for options like "Intel Virtualization Technology", "Intel VT-x", "AMD-V" or "SVM Mode".
Alternative method (PowerShell)
If you don't want to go into BIOS, you can try using PowerShell, but this option doesn't always work:
- Run PowerShell as administrator
- To enable virtualization, enter:
Enable-WindowsOptionalFeature -Online -FeatureName Microsoft-Hyper-V -All - To disable:
Disable-WindowsOptionalFeature -Online -FeatureName Microsoft-Hyper-V-All
Important: If everything works for you, then you don't need to touch it. This method may not work if virtualization is disabled at the BIOS level.
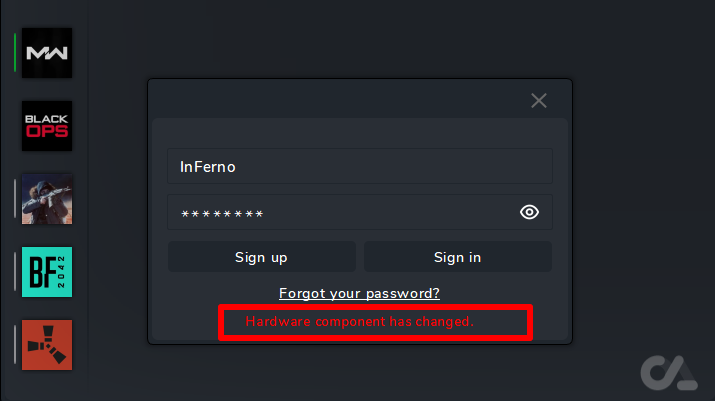
If you encounter this error, it means that your original key (HWID) has changed.
How does binding work?
This software uses unique identifiers of your "hardware".
1 account = 1 PC
When you first launch the program, your account is bound to the current PC. Further use of the same account on another PC is not possible.
When does the error appear?
The error appears if you:
- Added PC components
- Removed PC components
- Moved PC components to different slots
- Used a spoofer
Important: This error does not arise out of nowhere and does not appear just like that. If there are no changes, this error will not appear. Don't say "I didn't touch anything, my HWID just broke" — this cannot happen!
If you use a spoofer:
- Disable the spoofer and restart your computer
- If you still use a spoofer:
- First, log in to the launcher
- Then launch the spoofer (requires a PC reboot before this)
If you add, change, or move anything — this all changes your original binding.
HWID Reset Request
If you need an HWID reset, provide all information to the administration:
You must provide the following:
- Login (email) — required!
- Key — required!
- Reason for HWID reset
- If the reason is component changes, write exactly what changed. The more correct information you provide, the higher the chance of reset.
Where to contact?
Send information about HWID reset to one of the listed contacts:
- Email: ivsofte@inbox.ru
- VKontakte: Contact administrator
Attention: If you do not provide the information, there will be no response to your message! We will not waste time extracting every word from you!
HWID Reset Rules and Conditions
IF YOUR REQUEST CONTAINS A MISMATCH OF PC CHARACTERISTICS, THE ADMINISTRATION HAS THE RIGHT TO REFUSE HWID RESET
HWID reset is paid (100₽) in the following cases:
- If you failed the verification
- If reset needs to be performed more often than once every 2 weeks
- If you changed your PC
Important Notes
ATTENTION: After you write to a person from technical support, wait for a response from them. Do not duplicate your requests to other people — by doing this, you will slow down the help process for yourself. You can write to another person only if the first one does not respond within 24 hours from the moment of contact! Usually, we make a decision regarding reset in the shortest possible time.
- Time spent on HWID reset will not be compensated (added)
- HWID reset can be performed no more than once every two weeks, with an acceptable reason for reset
This error means that we could not get the data for binding.
Causes:
- Windows Management Instrumentation is disabled — you need to enable it and restart your PC
- Your Windows is broken — you need to restore or reinstall it
- Your account was blocked by the Administration
How to enable Windows Management Instrumentation
- Press the key combination Win + R
- In the "Run" window, type the command
services.msc - Click the OK button or press Enter
- After that, a window with various services will appear
- Find "Windows Management Instrumentation". Right-click to open the context menu and select "Properties"
- In the "Startup type" option, select "Automatic" and click the "OK" button
- Then again call the context menu by clicking on "Windows Management Instrumentation" and click "Start"
- Close the services window
- Restart your PC
If you enabled it but the error remains
Perform the following:
- Press the key combination Win + R
- In the "Run" window, type the command
cmd - Click the OK button or press Enter
- Enter the command
wmic baseboardand take a screenshot - Send the screenshot to your seller
Important: If the problem is not resolved after enabling Windows Management Instrumentation, you may need to restore or reinstall Windows. Also make sure that your account has not been blocked by the administration.
If you encounter this error, it means that your OS version is not supported.
Where to check supported builds?
In each game section and in the store, the builds on which the software works are listed. Check the system requirements on the product page.
How to find out Windows version?
- Press the key combination Win + R
- Enter the command
WINVERin the field - Press OK
- A window with Windows version information will open
It would be convenient if you send a screenshot to the site administrator. And we will see what can be done and suggest options for updating Windows.
Error solution
- Reinstall Windows — install a supported Windows version that is specified in the system requirements
- Update Windows — if an update is available, update to the appropriate version:
- Start → Settings → Update & Security → Windows Update
- Check for updates and install them
Important: Before reinstalling or updating Windows, make sure you have saved all important data. Also check that your Windows version meets the cheat system requirements specified on the product page.
Scale in system and in game: 100%;
Screen format: Auto;
This error means that you need to disable Secure Boot in BIOS on your PC.
What do you need to do?
You need to enter BIOS, find the Secure Boot option and disable it, i.e. set it to Disabled.
Where is Secure Boot located in BIOS?
It is located in different places, depending on the computer model. Usually the path is:
- "Boot" menu
- "System Configuration"
- "Security"
- "Authentication"
- "BIOS Features"
Useful links and instructions
There are many descriptions and instructions on the Internet on how to do this:
- Official Microsoft guide on disabling Secure Boot
- Guide for Gigabyte motherboards
- Video tutorial on YouTube
Note: If you cannot find the Secure Boot option in BIOS, try searching for information specifically for your motherboard or laptop model. Different manufacturers may have different BIOS interfaces, but the Secure Boot function is present in almost all modern systems.
A computer can boot in two modes:
- Modern "UEFI" mode: supported by almost all computers manufactured after 2010
- "Legacy" mode: for older computers
How to change from Legacy to UEFI in BIOS?
There are many descriptions and instructions on the Internet on how to do this. Example: official Microsoft guide
Step 1: Disk Conversion
- Open Command Prompt as Administrator:
- In the "Run" window, type the command
cmd(you can also do this through Task Manager) - Right-click on "Command Prompt" → Run as administrator
- In the "Run" window, type the command
- Copy and paste the following command:
mbr2gpt.exe /convert /allowfullOS - After executing the command, shut down your PC and enter BIOS.
Step 2: BIOS Configuration
How to enter BIOS?
You need to press a specific key or key combination on the keyboard, this depends on the computer manufacturer.
- On a desktop computer, you need to press the Del key during boot, in rare cases — F2
- On laptops, often used: F2, F10, F12, Esc
Step 3: Changing Boot Parameters
- Go to the BOOT section (usually located in the top part of the BIOS menu)
- Find the "Storage Boot Option" parameter — set the value to "UEFI"
- Find the "Other PCI devices" parameter — also set the value to "UEFI"
- Save changes and exit BIOS (usually the F10 key)
Note: If you did not find these settings in the BOOT section, most likely the manufacturer of your motherboard has moved these items somewhere or they have a different name. In this case, don't worry, just go to Google and write the following query: "motherboard manufacturer name/model legacy to UEFI"
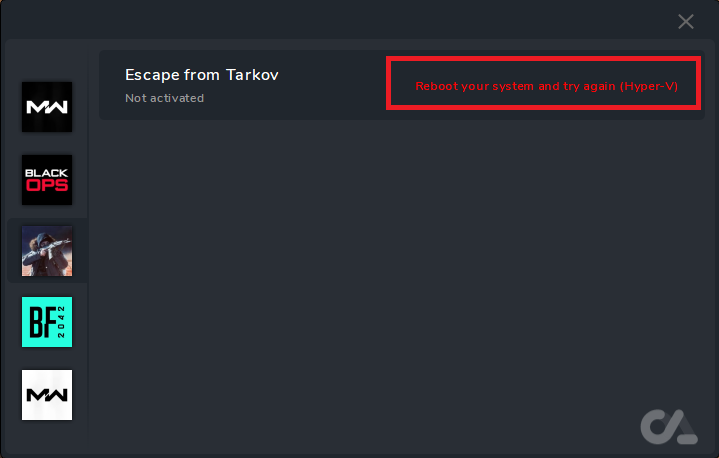
This error means that Hyper-V is enabled on your PC. You need to disable it.
Method 1: Disable through Windows Features
- Open Windows Features: Win + R → optionalfeatures
- Uncheck ALL of the following:
- ✅ Hyper-V
- ✅ Virtual Machine Platform
- ✅ Windows Subsystem for Linux (WSL)
- ✅ Windows Sandbox
- ✅ Microsoft Defender Application Guard
- ✅ Virtual Machine Platform
- ✅ Windows Hypervisor Platform
- Restart your computer.
Method 2: Disable Core Isolation (Memory Integrity)
Start → Settings → Update & Security → Windows Security → Device Security → Core Isolation → Turn off
Method 3: Disable via PowerShell
Run PowerShell as Administrator and execute the following commands:
- Disable hypervisor:
bcdedit /set hypervisorlaunchtype off - Disable Device Guard and related features (execute each command separately):
reg add "HKLM\SYSTEM\CurrentControlSet\Control\DeviceGuard" /v EnableVirtualizationBasedSecurity /t REG_DWORD /d 0 /f reg add "HKLM\SYSTEM\CurrentControlSet\Control\DeviceGuard\Scenarios\SystemGuard" /v Enabled /t REG_DWORD /d 0 /f reg add "HKLM\SYSTEM\CurrentControlSet\Control\DeviceGuard\Scenarios\HypervisorEnforcedCodeIntegrity" /v Enabled /t REG_DWORD /d 0 /f - Disable Windows features (execute each command separately):
dism.exe /online /disable-feature /featurename:Microsoft-Windows-Subsystem-Linux dism.exe /online /disable-feature /featurename:VirtualMachinePlatform dism.exe /online /disable-feature /featurename:Microsoft-Hyper-V-All - Restart your computer.
Required Step for Windows 11 24H2-25H2
In Windows 11 version 24H2-25H2, there is a known issue where Hyper-V may continue to affect the system even after performing the previous steps. To completely eliminate this, you need to temporarily disable Device Guard and Credential Guard using the official Microsoft tool.
Disabling Device Guard and Credential Guard:
- Download the official Microsoft tool: Device Guard and Credential Guard hardware readiness tool
- Extract the ZIP file to any folder
- Open PowerShell as Administrator:
- Press Win + X
- Select PowerShell
- Right-click → Run as administrator
- Navigate to the folder with the tool (replace the path with yours):
cd C:\Users\Username\Downloads\DG_Readiness_Tool_v3.6 - Allow script execution:
Set-ExecutionPolicy Unrestricted -Scope Process - Run the tool with the -Disable parameter (replace version if different):
.\DG_Readiness_Tool_v3.6.ps1 -Disable - Restart your computer when prompted. During Windows boot, you may be asked for confirmation (e.g., press F3 to continue).
Confirm Hyper-V is Fully Disabled
After restarting, open PowerShell as Administrator and execute:
bcdedit /set hypervisorlaunchtype offRestart your computer.
Additional Recommendations
- Remove antiviruses and defenders — after removing antivirus, restart your computer (check for antivirus traces and remove them)
- Use VPN — sometimes software launch may be blocked by Discord bypass, YouTube, streaming programs or other background applications. We recommend temporarily disabling them before launch.
If the error persists after performing all steps, check:
- Third-party software usage — possible incompatibility
- Windows build compatibility — the issue occurs with unsupported Windows builds
- Remaining traces of defenders, antiviruses and other security programs — traces may remain in the system even after removal
You can also look for solutions online or ask GPT if the problem persists.
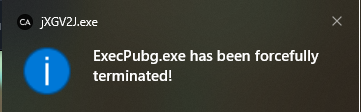
You need to close the Software Launcher before starting the game!
What does this error mean?
The error means that the Software Launcher is closing the game process because you have the Software Launcher open when starting the game.
Correct sequence of actions:
- Launch the Software Launcher (cheat)
- Wait for the successful injection message "successfull"
- Be sure to close the Software Launcher — completely close the program
- Only after that, launch the game
Important! You cannot launch the cheat launcher when the game launcher is open and running, as well as when the game is open. The Software Launcher must be closed before launching the game.